关于 Gitalk 配置可以参考官方文档

Butterfly 安裝文檔(四) 主題配置-2 | Butterfly

gitalk/readme-cn

创建 Github Application

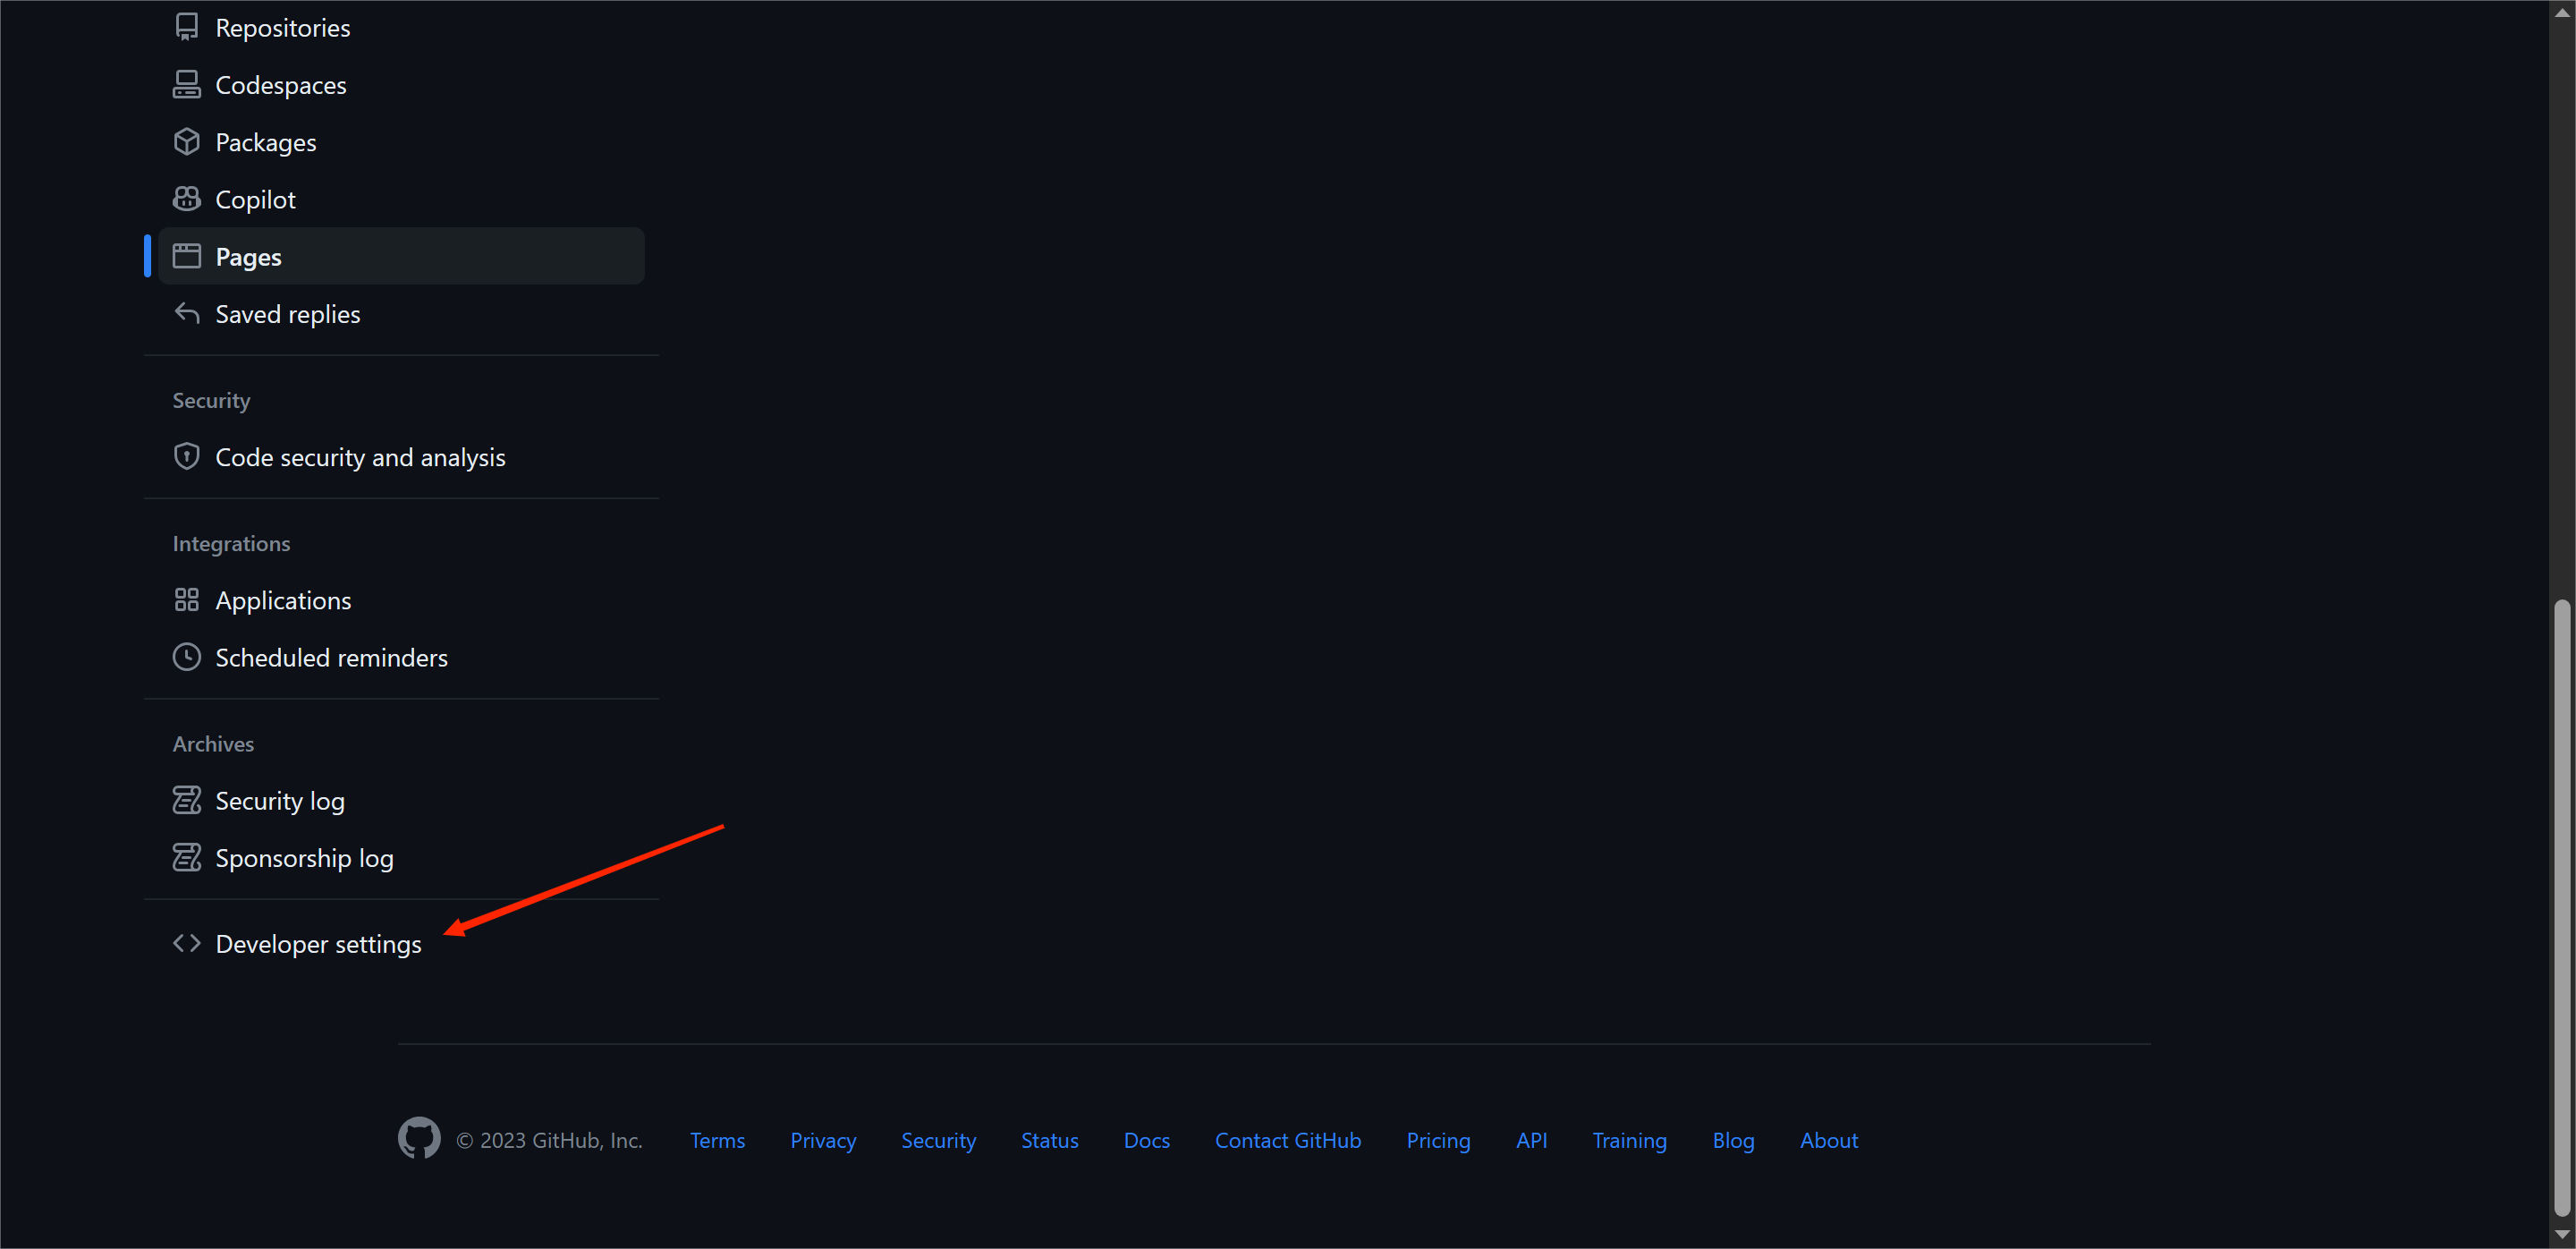
  • 首先在 Github 的个人设置最下方找到 Developer Settings

Github Developer settings 入口截图

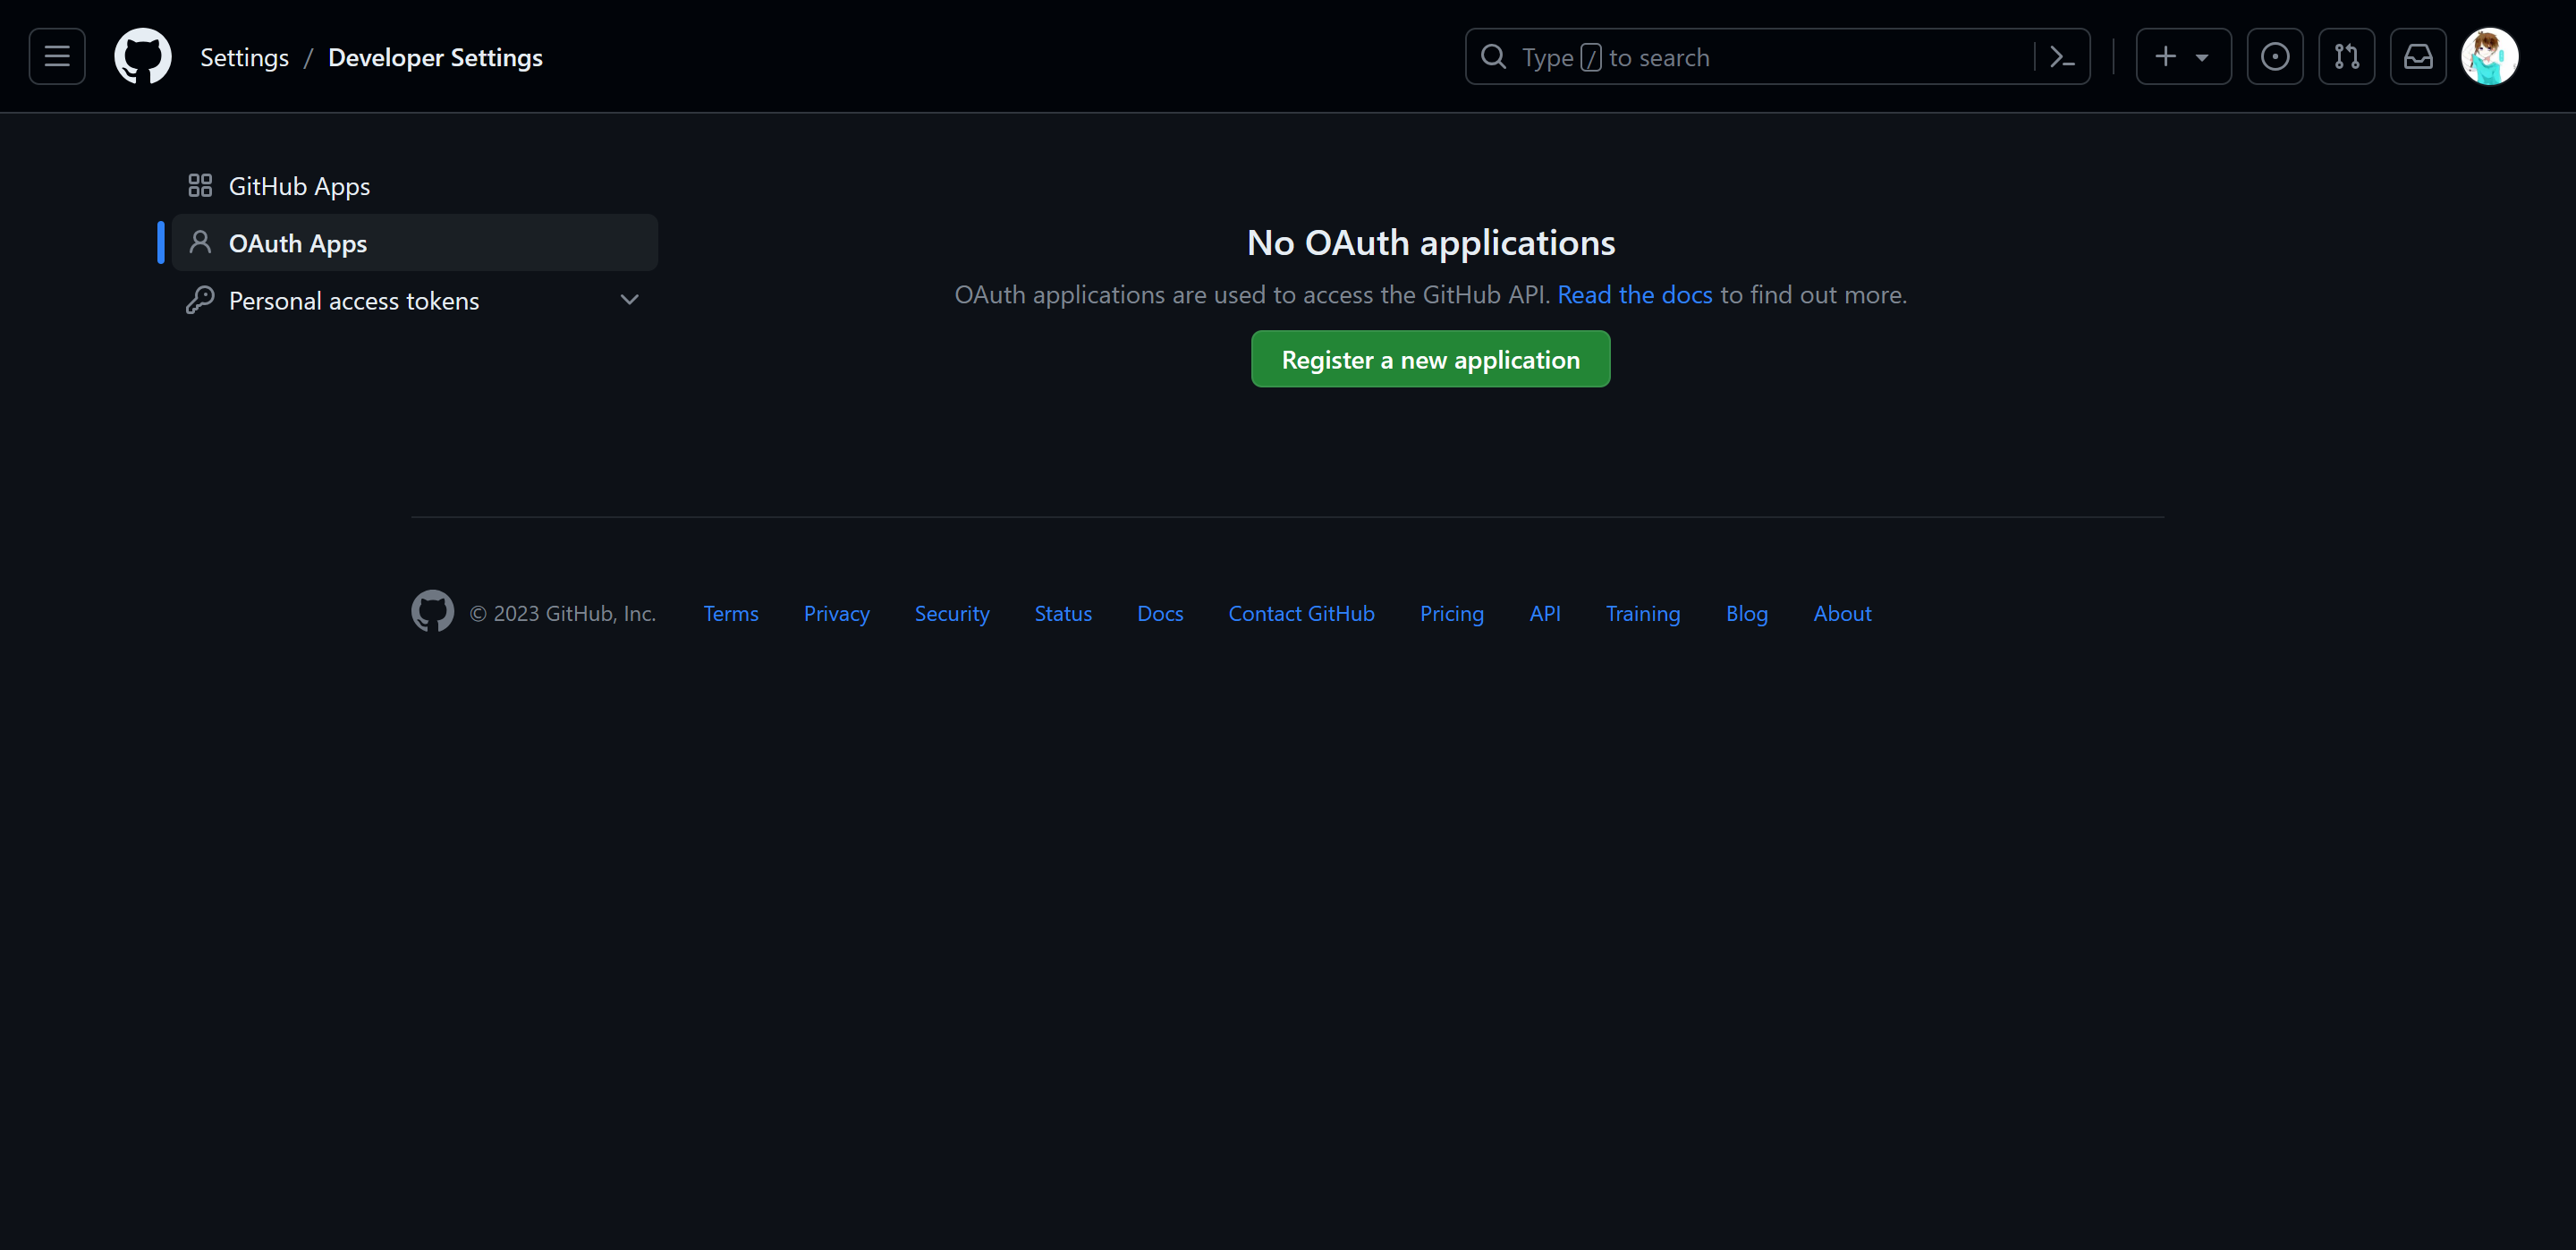
  • 选择 OAuth Apps 并注册新的 OAuth Applications

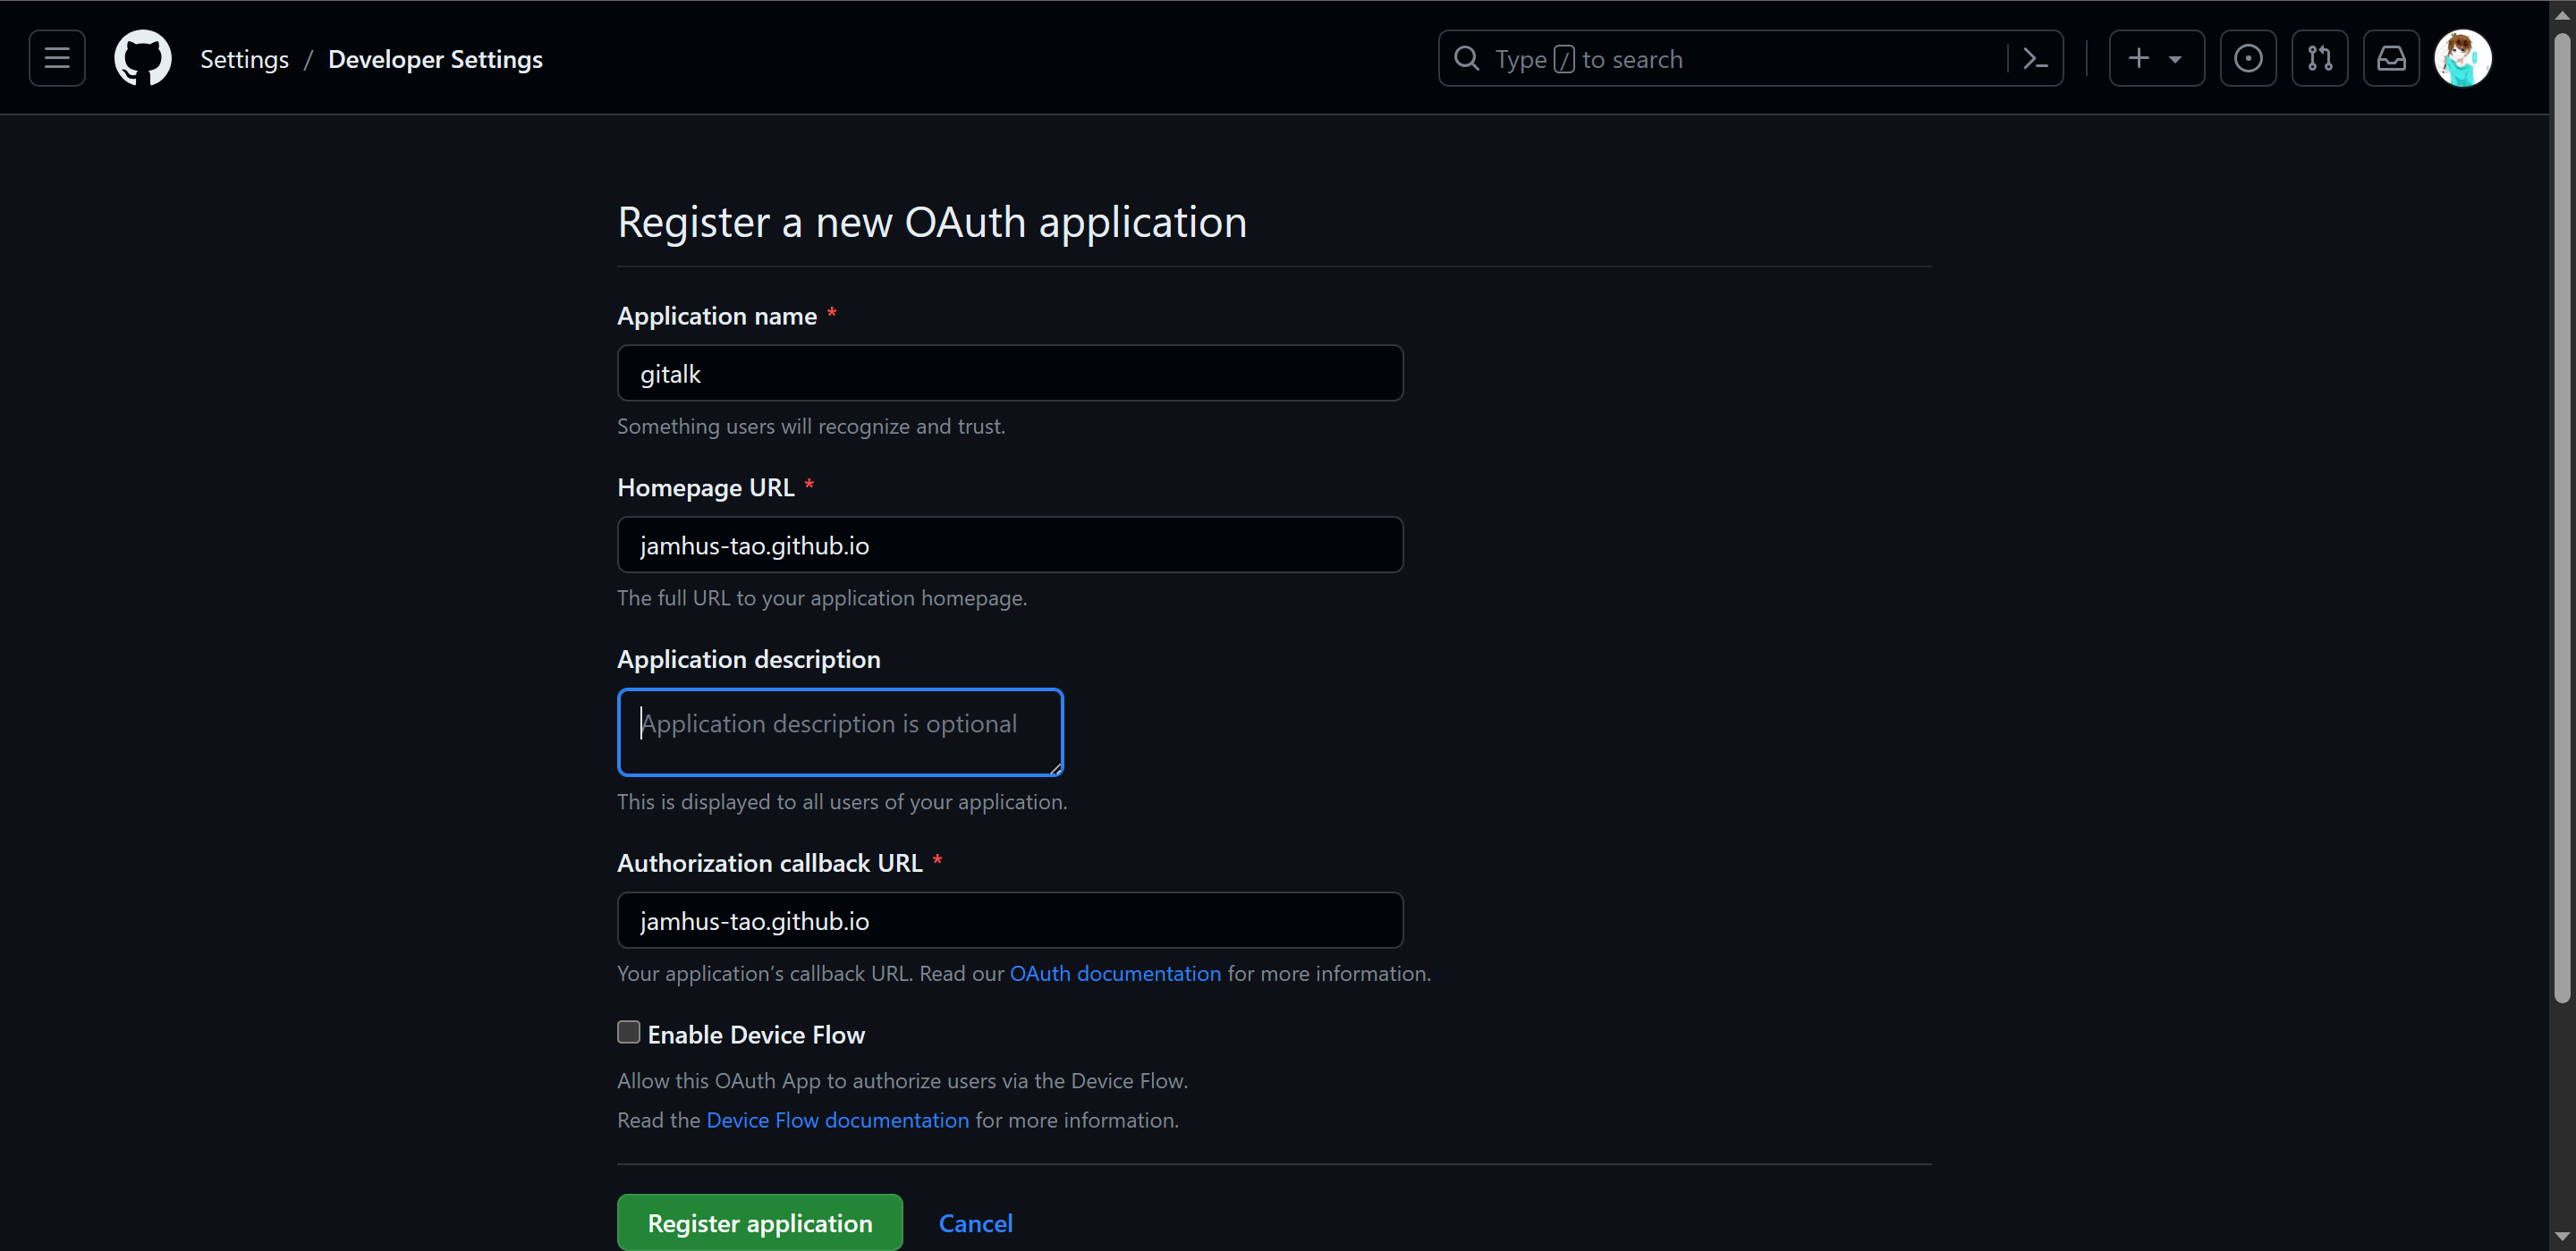
Github OAuth 注册界面截图

  • 填写相关信息,请在 Authorization callback URL 填写你的个人网址。之后进入新的界面点击 Generate a new client secretClient IDClient Secret 后面会用到。

Github OAuth 注册Step3

配置 Butterfly 配置文件

  • 在此之前你需要在 Github 创建一个仓库用于存放评论,我的仓库名为 jamhus-tao.github.io.gitalk ,这样可以防止混淆。

  • comments.use 增加 gitalk ,然后配置下面的 gitalk 选项。

1
2
3
4
5
6
7
8
9
10
comments:
# Up to two comments system, the first will be shown as default
# Choose: Disqus/Disqusjs/Livere/Gitalk/Valine/Waline/Utterances/Facebook Comments/Twikoo/Giscus/Remark42/Artalk
use: # Valine,Disqus # 增加 gitalk
text: true # Display the comment name next to the button
# lazyload: The comment system will be load when comment element enters the browser's viewport.
# If you set it to true, the comment count will be invalid
lazyload: false
count: false # Display comment count in post's top_img
card_post_count: false # Display comment count in Home Page
1
2
3
4
5
6
7
8
9
10
# gitalk
# https://github.com/gitalk/gitalk
gitalk:
client_id: xxx # 刚刚申请的 Client ID
client_secret: xxx # 刚刚申请的 Client Secret
repo: jamhus-tao.github.io.gitalk # 用于保存评论的仓库名称
owner: jamhus-tao # 仓库所有者用户名, 即你的 github 用户名
admin:
- jamhus-tao # 评论系统管理员用户名, 可以设置多个, 一般至少包含所有者用户名
option:

测试运行 Gitalk

  • 启动 hexo 本地服务。
1
hexo s
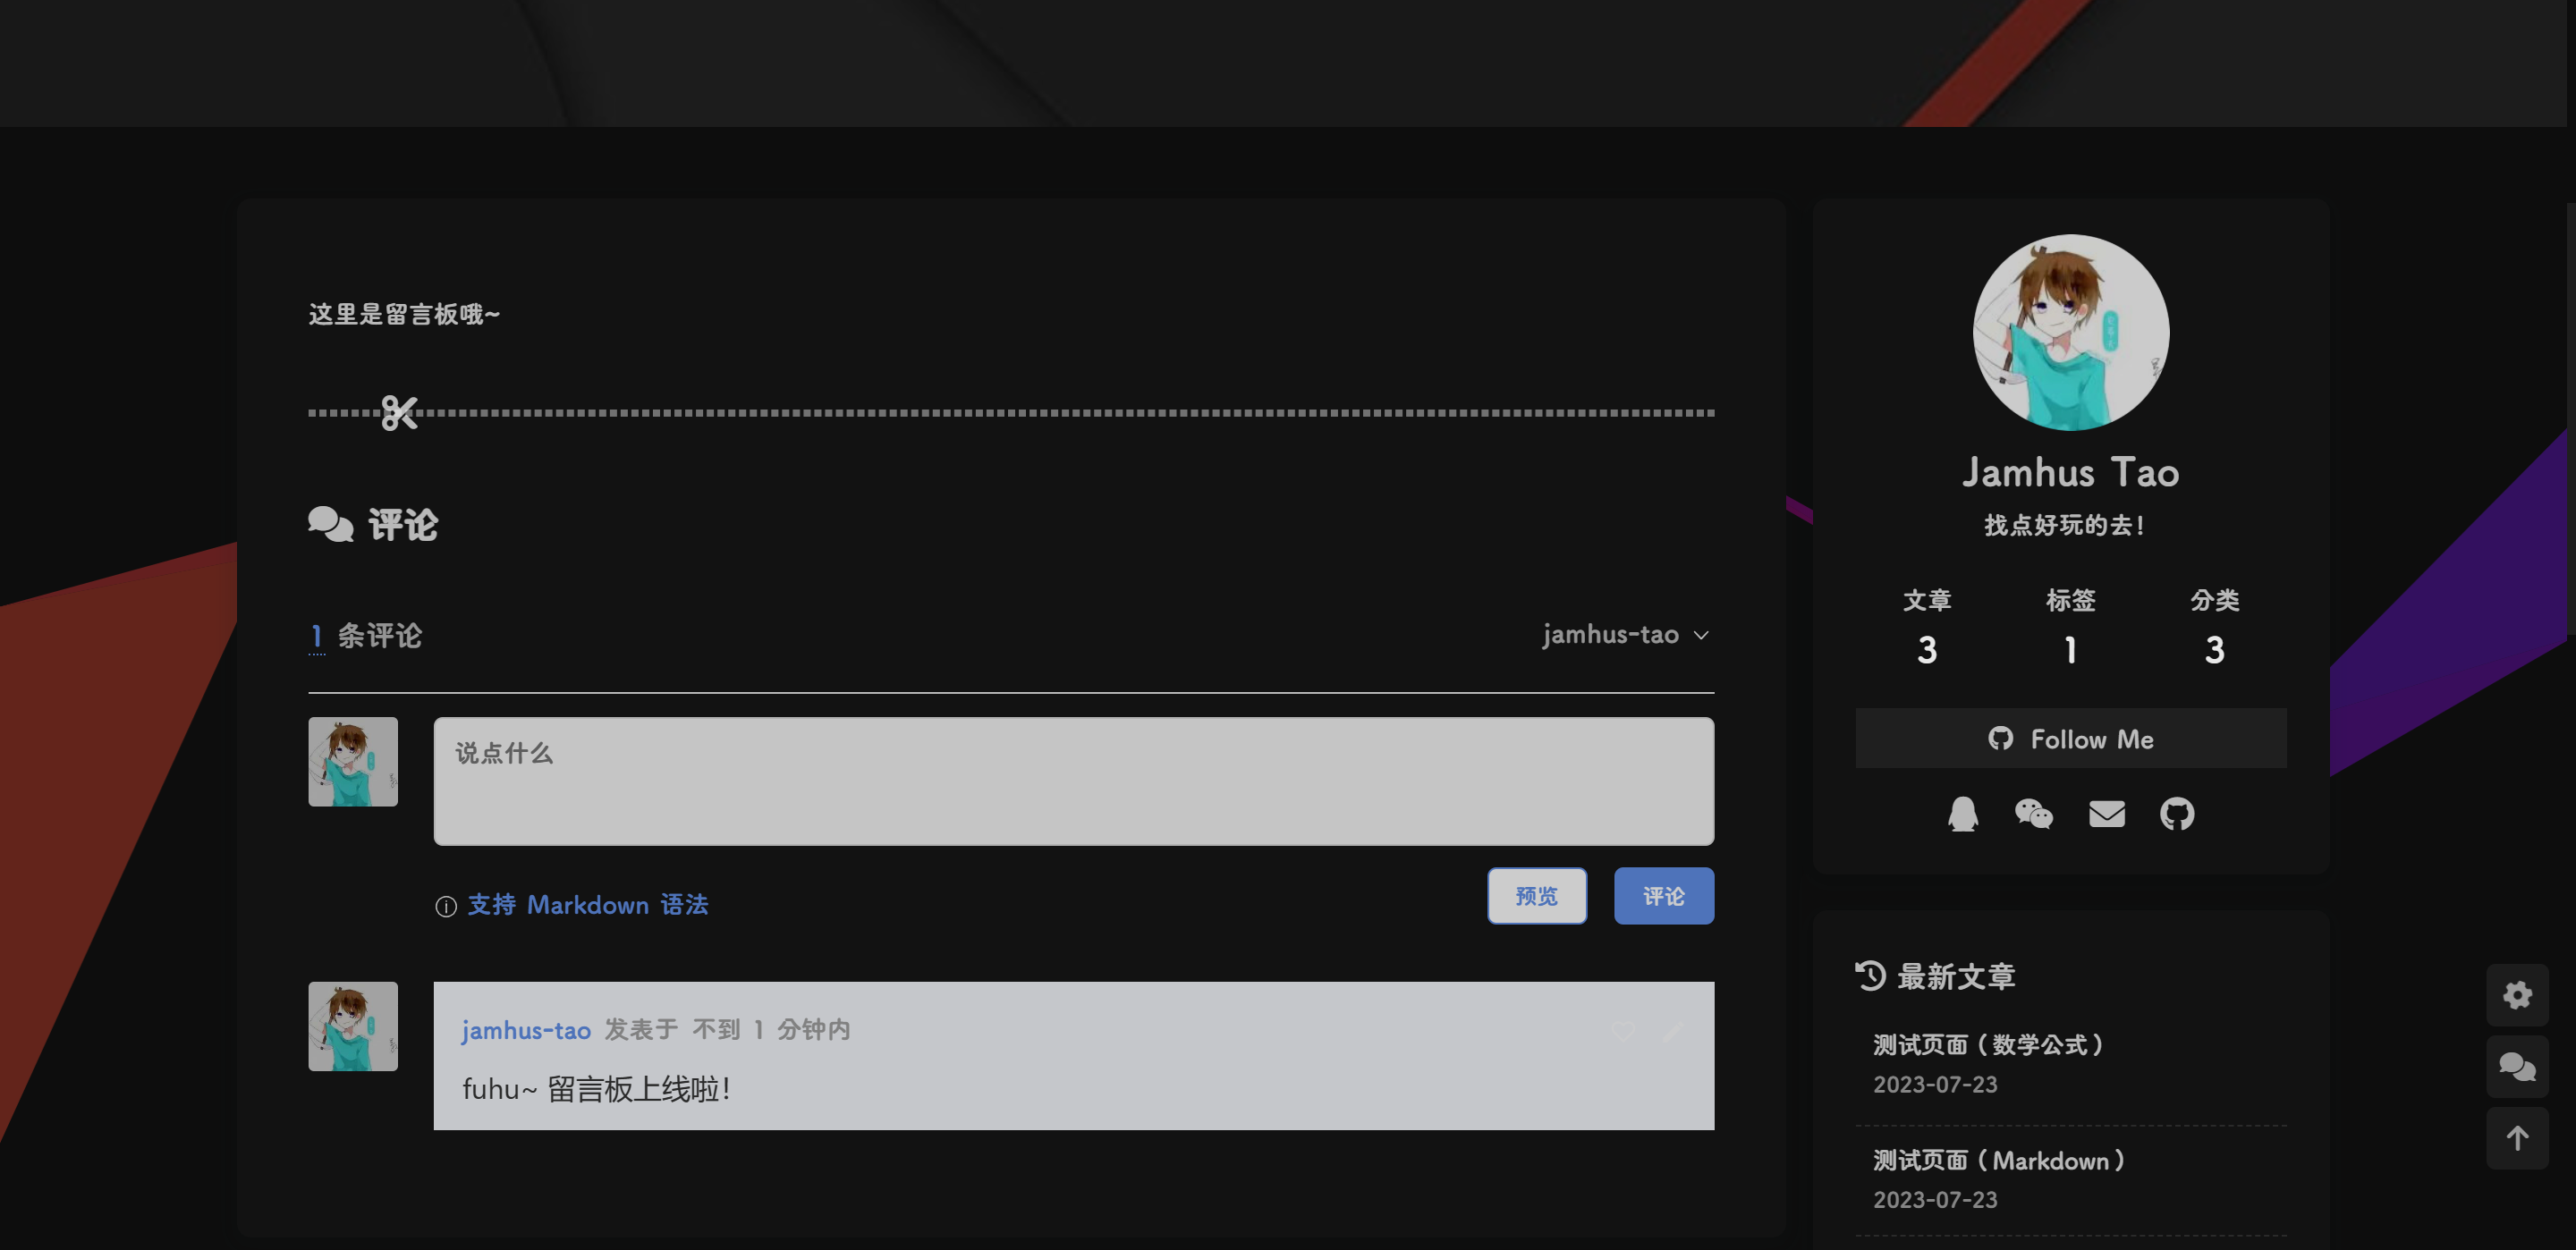
  • 使用浏览器访问 http://localhost:4000 查看你的留言板。

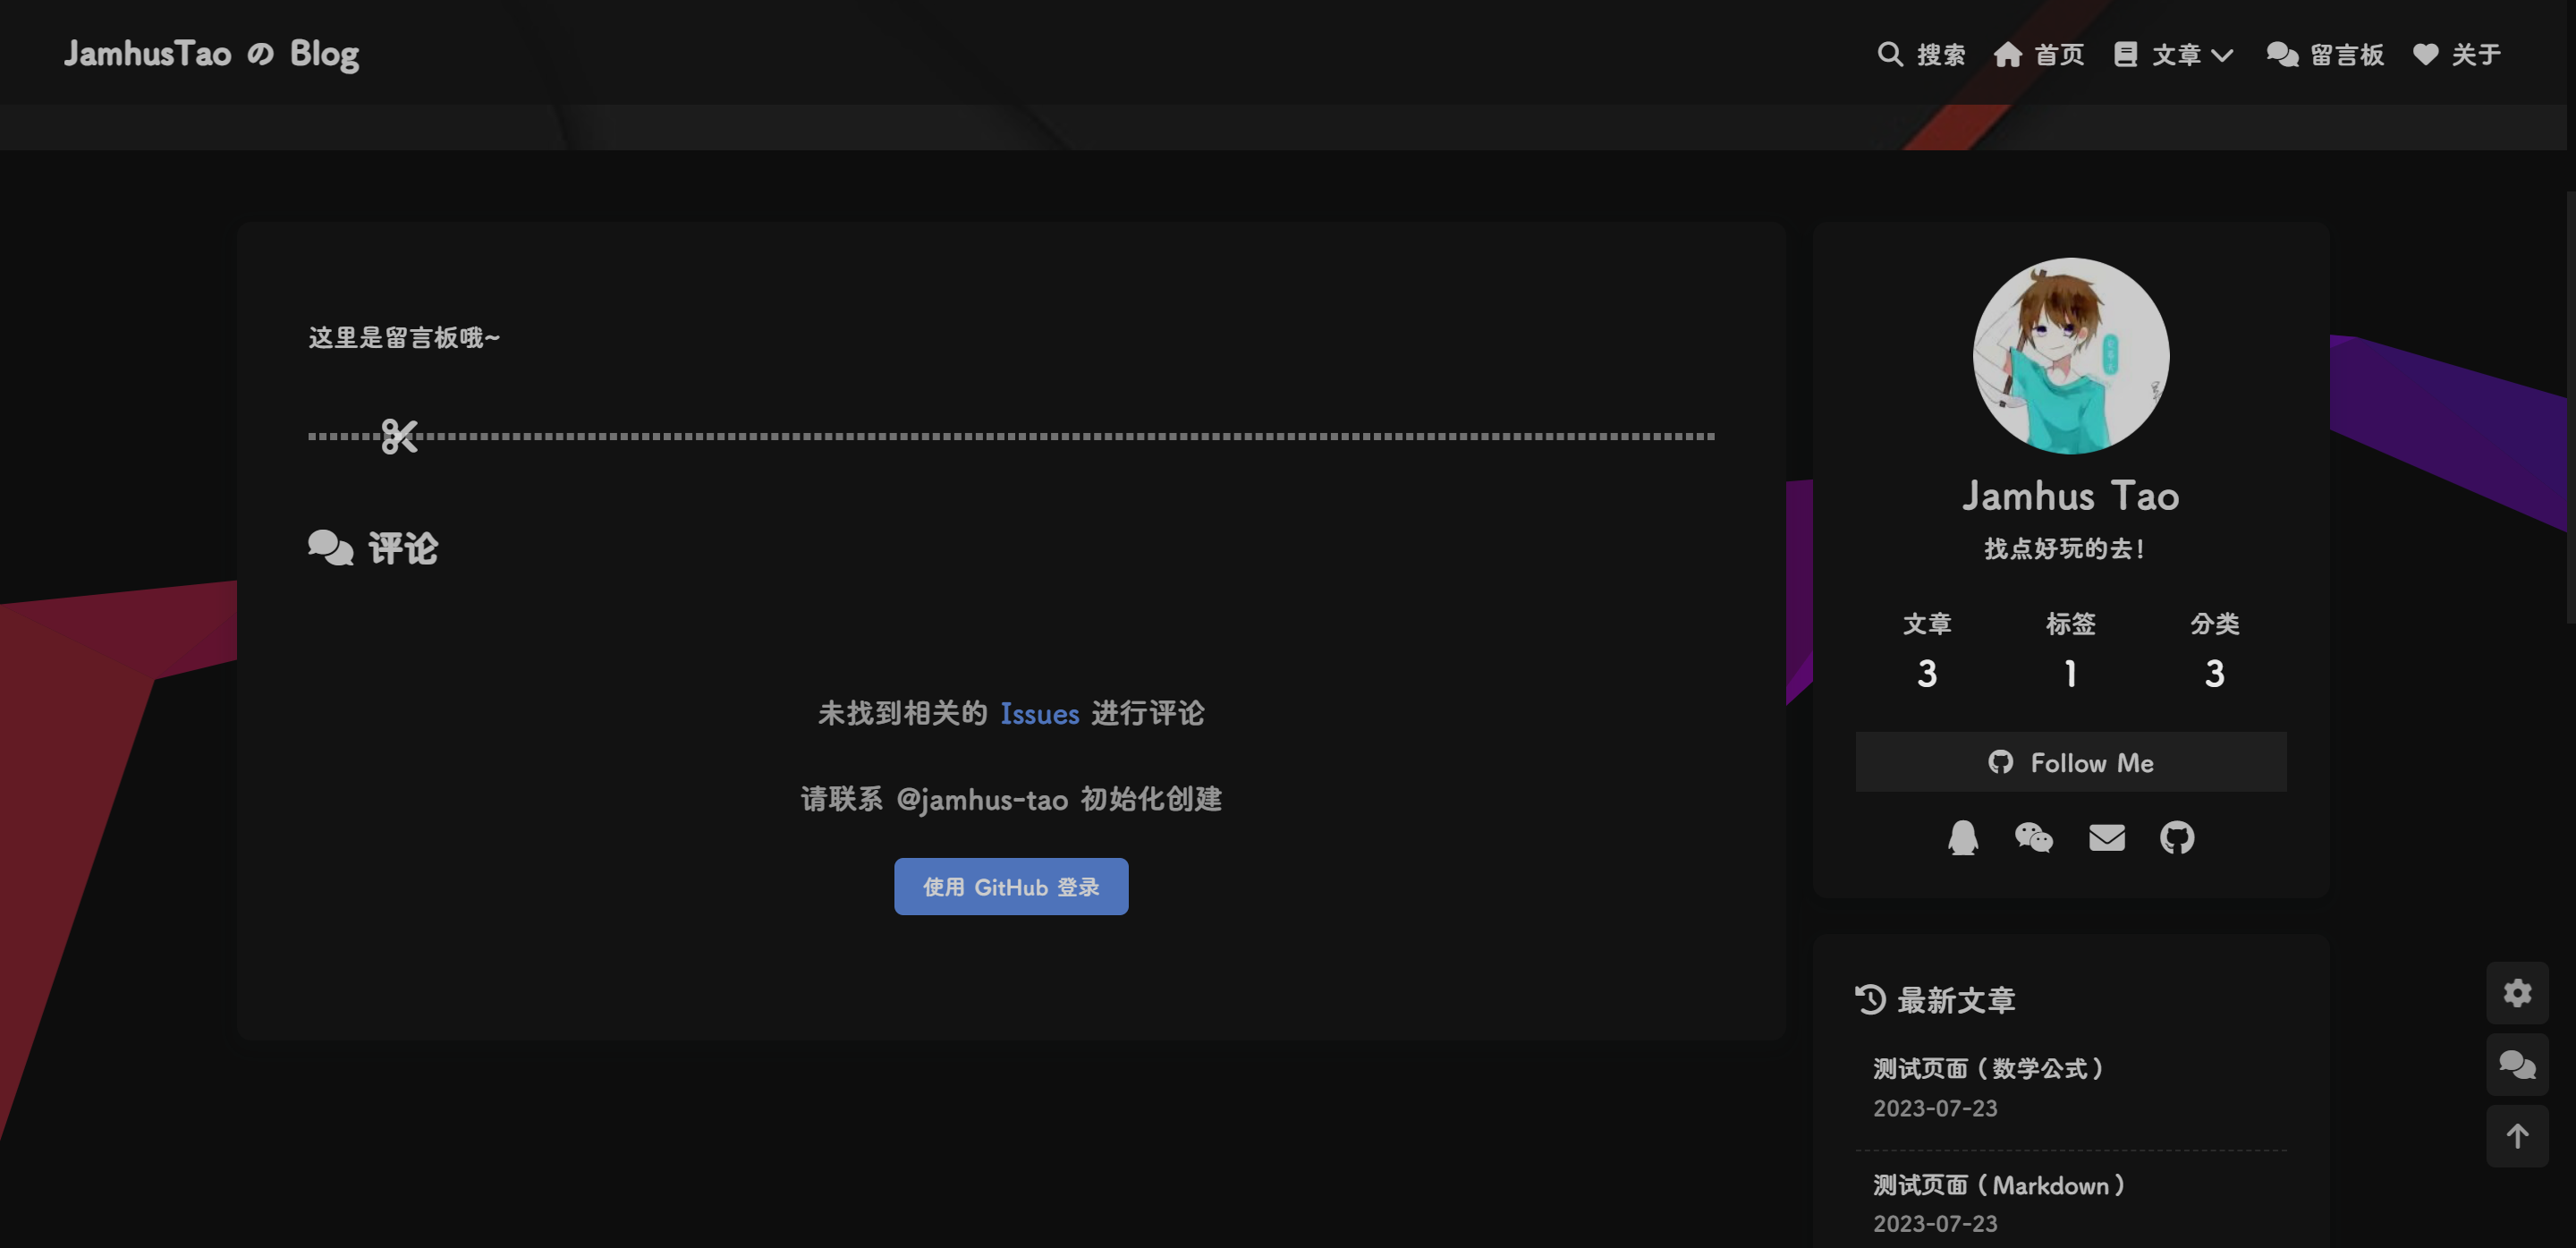
Gitalk 界面预览

  • 可以看到这里需要管理员初始化评论,使用你的 Github 账号登陆即可。在这里测试你的第一条评论吧!

Gitalk 界面预览

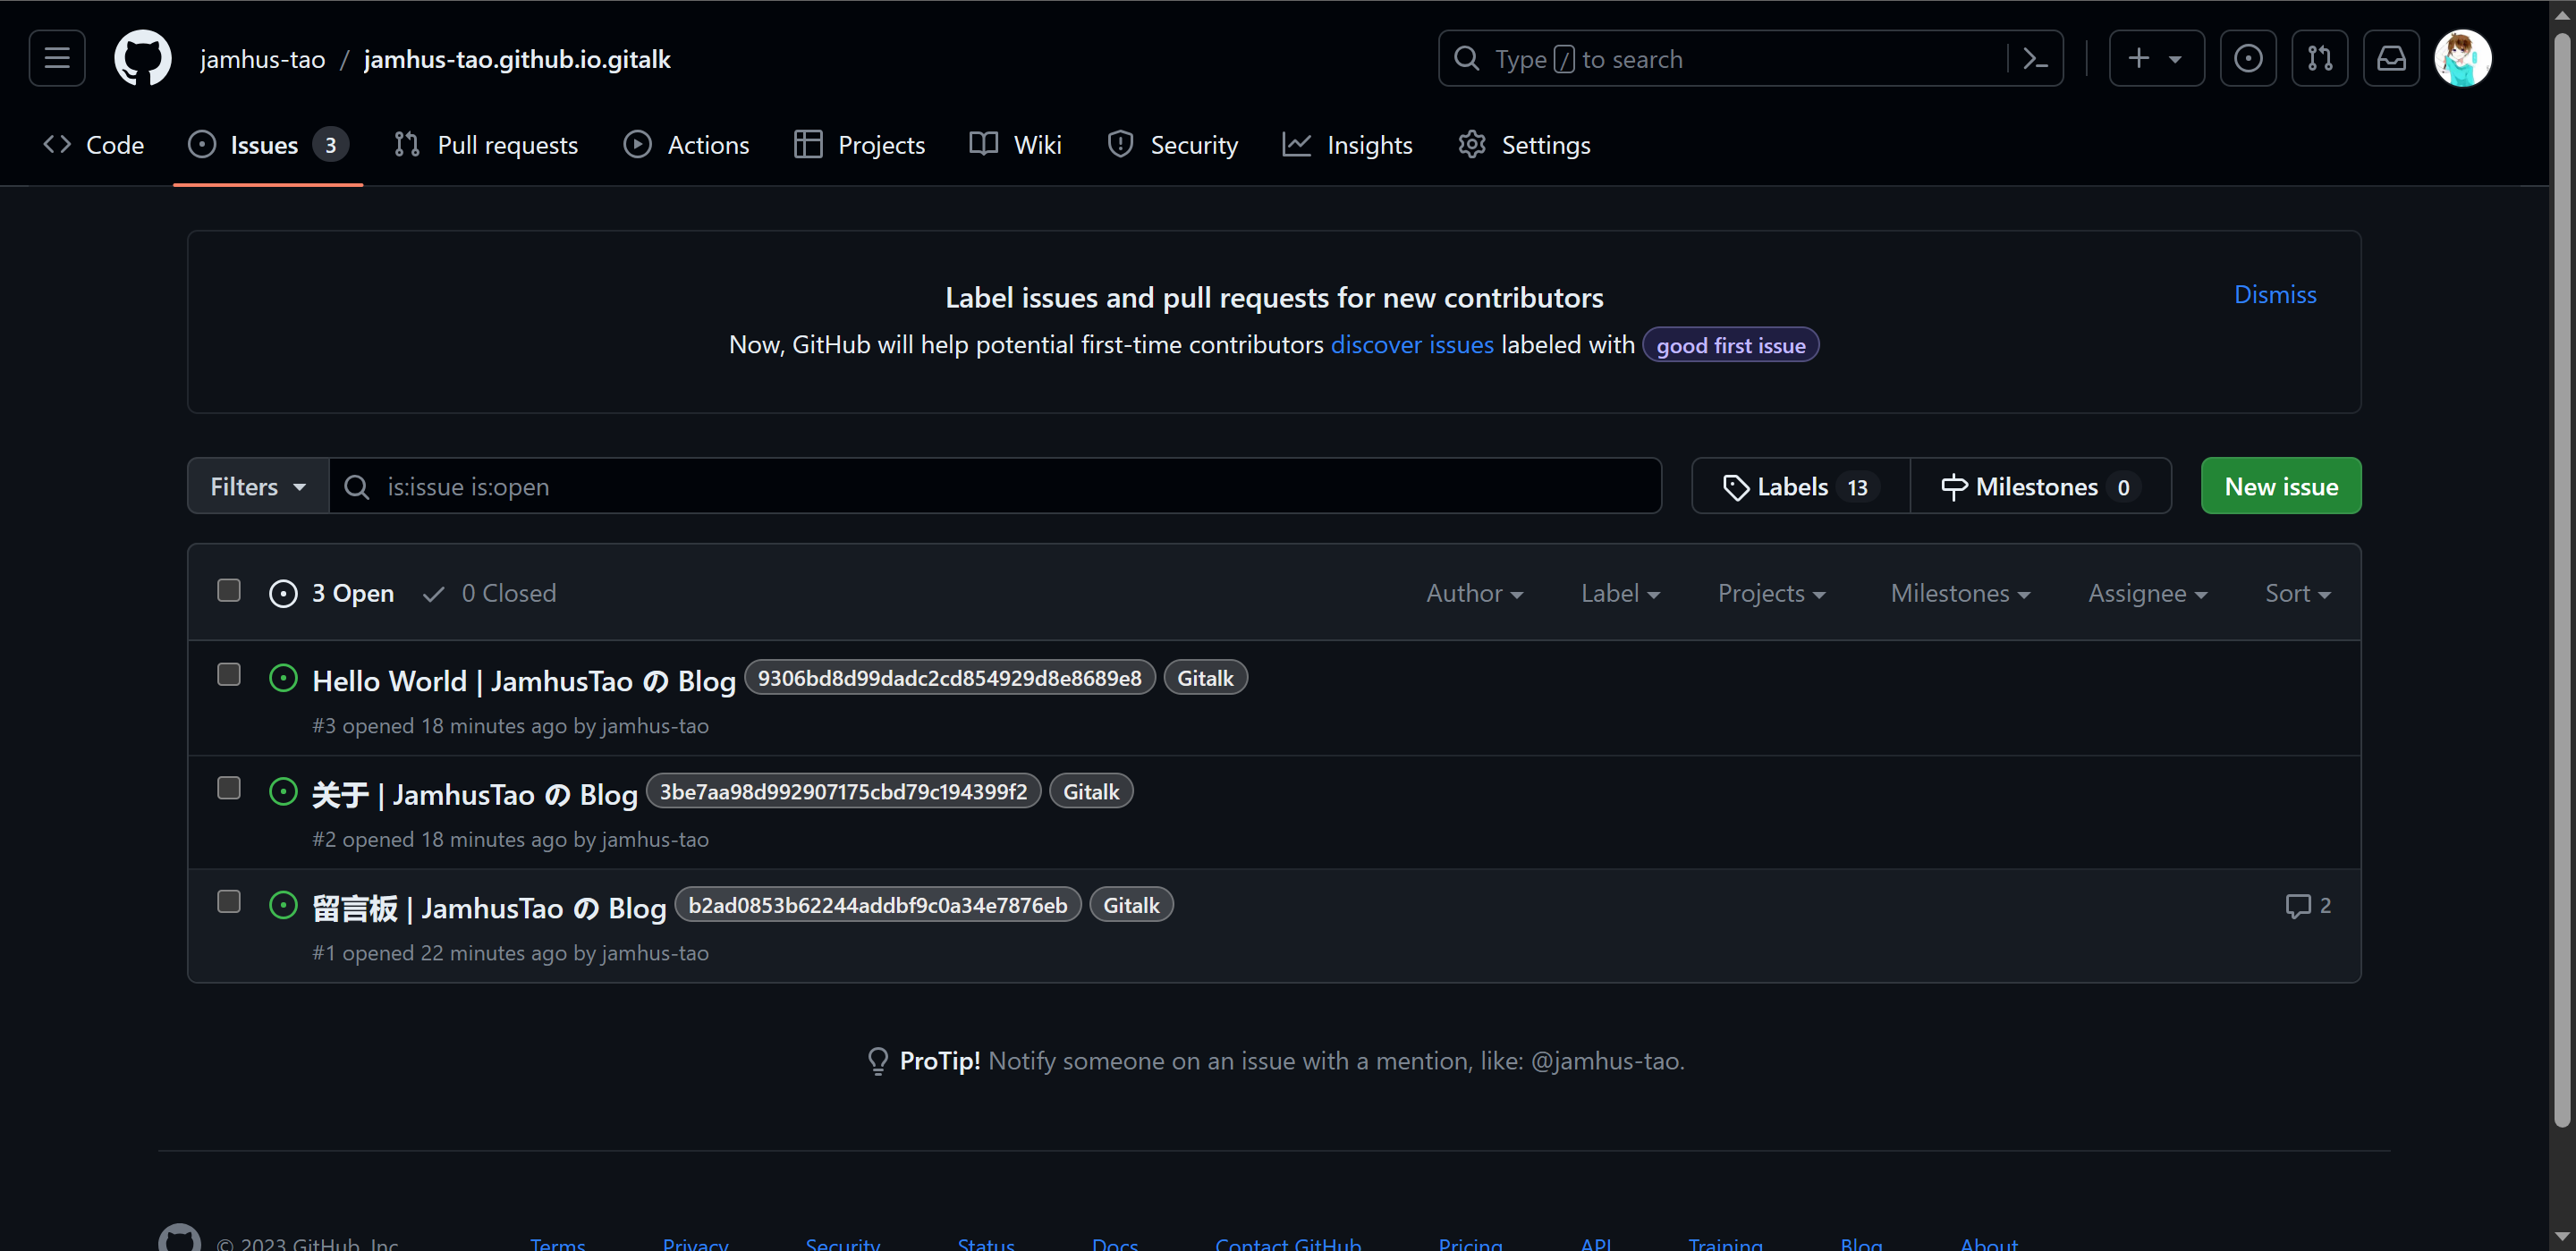
  • 现在,你可以在你的 Github 仓库的 issue 中管理评论。需要注意的是,每篇文章末尾的评论区都需要管理员账户访问后才能开启。
  • 下面来看看我的 Github 仓库。因为我只在登陆 Github 的情况下访问了图示这些页面,所以只有这些界面创建了 issue,只有创建 issue 的页面接收其他用户评论。

Gitalk 界面预览3